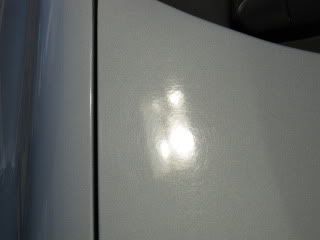
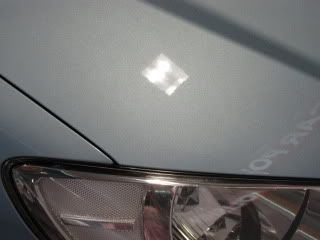
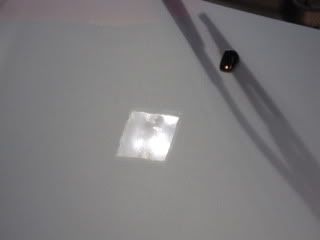
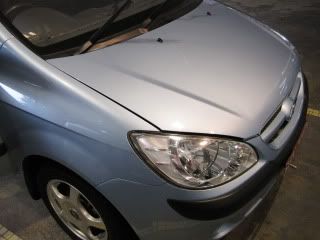
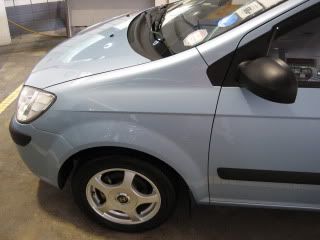
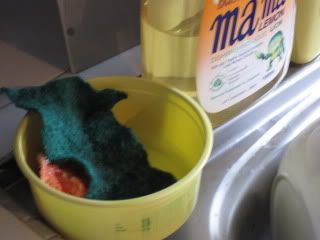
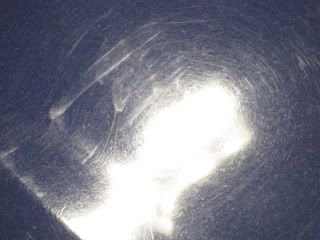
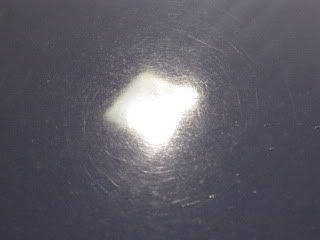
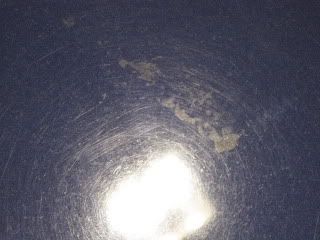
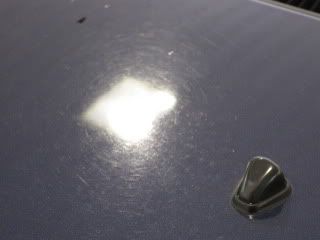
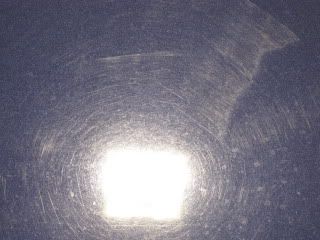
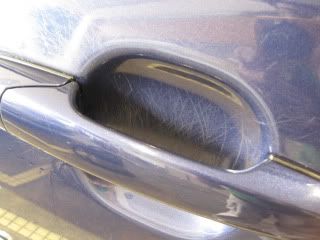
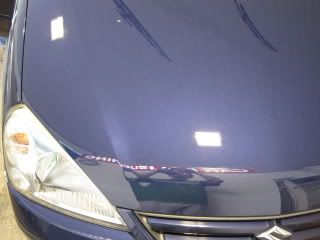
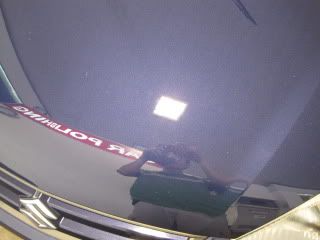
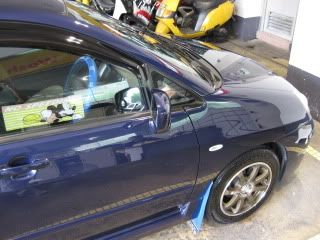
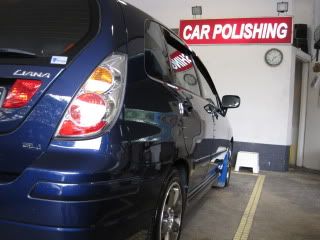
This car had probably been scoured by a scouring pad during the washing process and the damage done was unbelievable. It was Monday... I was quite tired and as usual when i reached my workplace, the first car of the day had already arrived. "It was a light blue Hyundai Getz, how difficult can this detailing get?" i pondered... I went to make a cup of coffee while the car was being washed and clayed. 25 minutes had passed, my assistant finished the stage 1 preparation and parked the car at the polishing bay. I went ahead to inspect the paint condition... seemed to be normal with tremendous amount of surface marring, slight water etched marks but with alot of "pencil line mark" scratches. The scratch marks were very obvious and they could be found at all around the car.
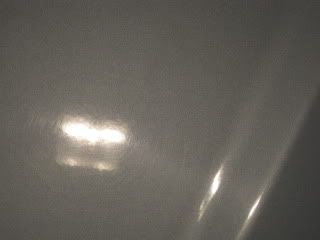
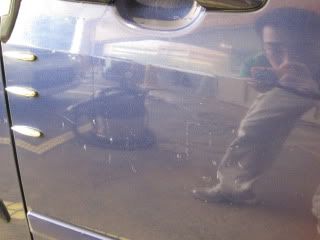
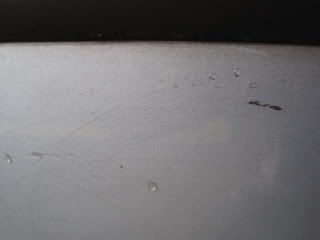 ... noted scratch marks at the door side...
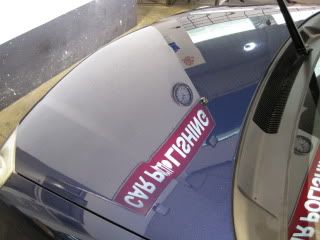
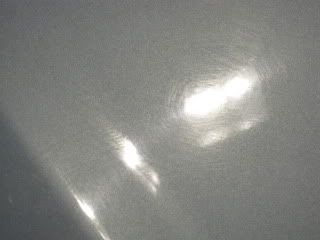 ... more scratches found on the bonnet/ hood panel and these were noticeably quite deep but not to the depth of being keyed type of scratch...
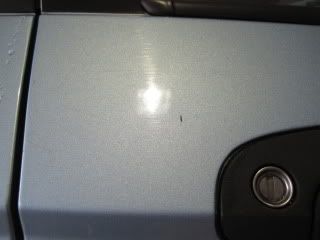
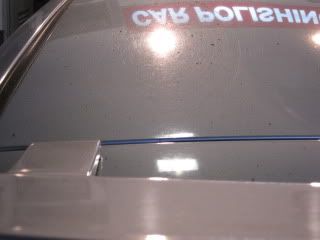 ... the condition of the roof line area was the worst...
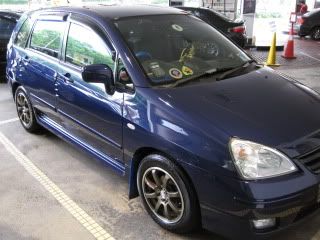
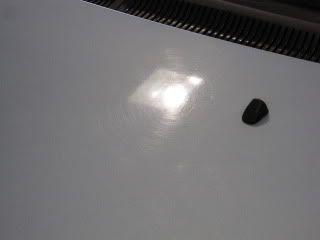 ... these defects looked like the ones that i had done on last Saturday's morning Suzuki Liana... should be fine, another 6 hour of detailing session or maybe lesser.
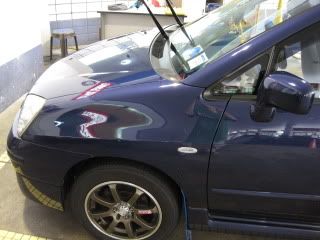
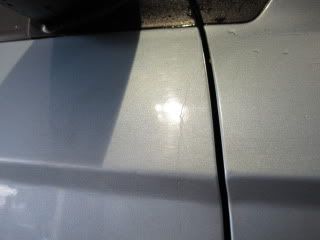 ... more swirl mark found under the wing mirror...
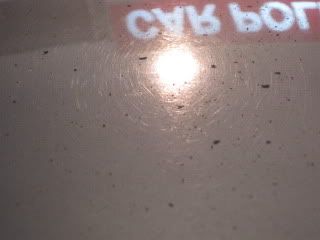 ... a closer view again at the roof line defects, more water etched mark was found here than on the bonnet/ hood panel.
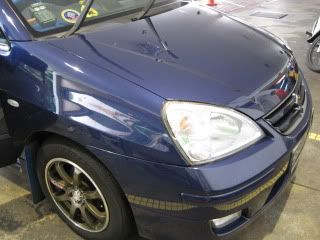
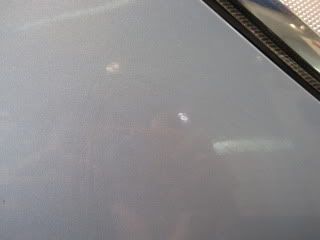 ... scratches by the front side panel near the head lamp assembly...
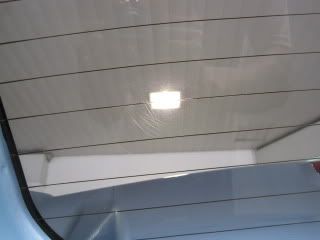 ... even the rear hatch glass panel was not spared from the scratching... the scratch pattern was random and deep!
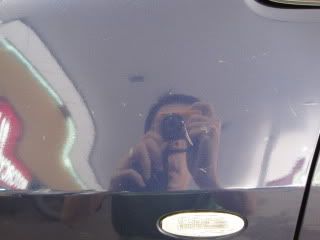
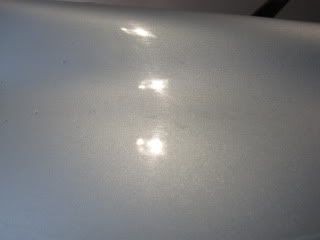 ...another picture of more swirl mark on the car...
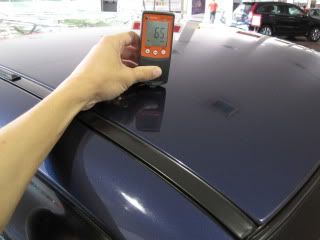
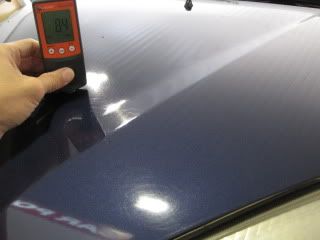
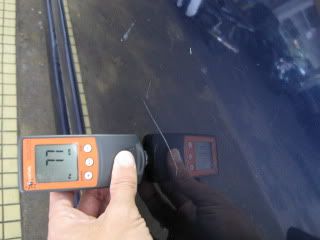
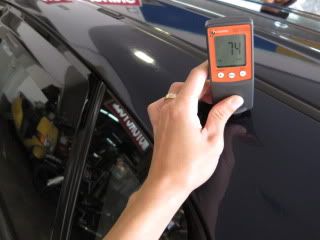
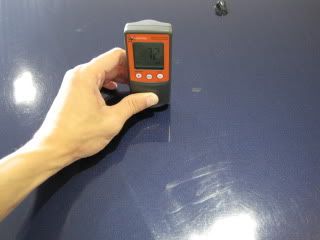
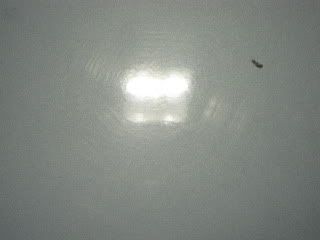 After assessing the entire car condition, i reckoned it wasn't that bad. A light to medium correction plan should sort out the swirl mark issue in 3 to 4 hour. I proceed to took paint coating level readings before the paint correction.
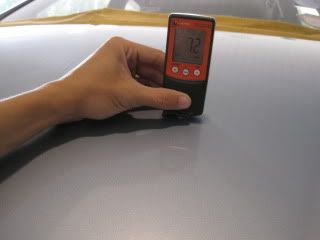
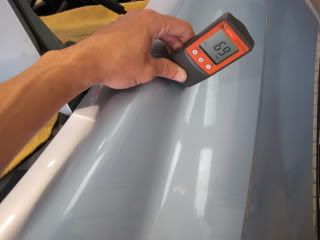
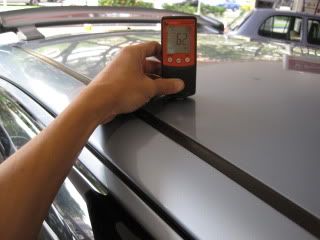
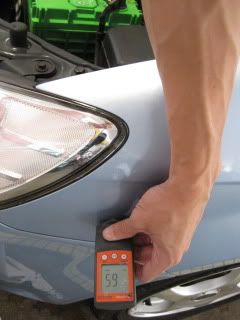 The mean paint coating level was about 70 microns, nothing abnormal and good to go. I began the test panel stages, the light correction method was not moving the swirl mark after 2 hits. I switched to more aggressive product and proceed with another 2 hits. The superficial swirl mark were slightly cleared, leaving the deeper scratch mark which look just like normal swirl mark as well as it was all over the car!
 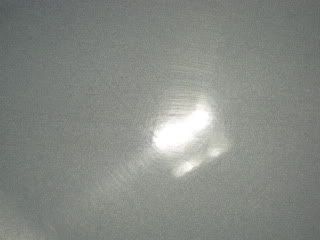 I proceed with the medium correction with another 2 hits followed by another 2hits... and the remaining swirl mark was diminishing very slowly. I opted to stick to this method as it was working but very slowly. Finally, after more than 2 hours of medium correction work, the deeper swirl mark was still there and the entire car looked swirly as if they was no correction work done...
I then realised that i was in for a good time and change my correction work process as it was not effective to these deep swirl mark in such situation. After many hours of paint correction, most of the deep swirl had been levelled. This was the initial paint coating level at 73 micron before the paint correction work.
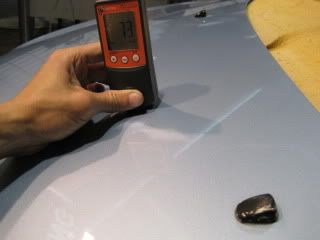
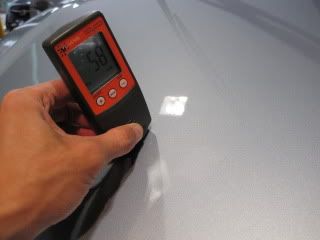
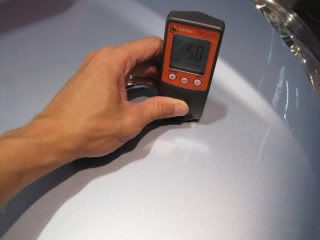 These were the pictures after 8 hours of paint correction just for swirl mark! TBH, i was really shacked out and pondering why would a scouring pad be used for washing... maid washing the car?... hmmm... whatever. After buffing out the sealant, i would said the car was about 85% restored as there were still pockets of RIDS but it wasn't bothering the overall appearance of the car. I shall let the pictures do the talking.
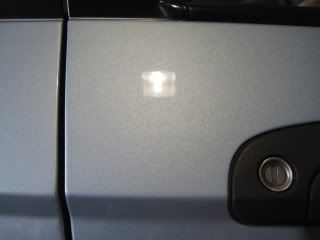
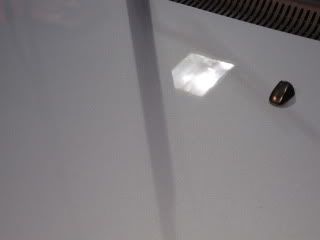
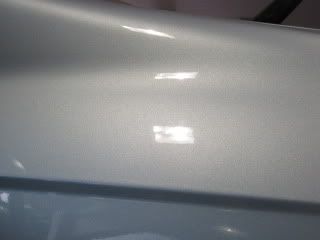
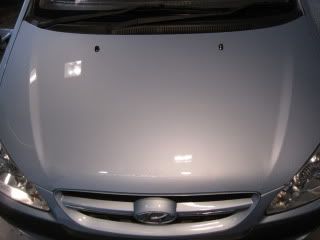
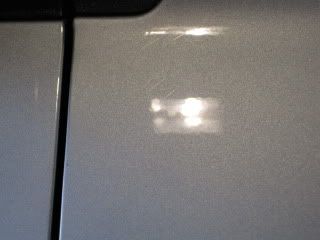 Remnants from the deep swirl mark have 'evolved' to become RIDS which i will leave it for the time being as too much levelling was done on the paint. The RIDS will be sorted out in the next grooming session together with the new swirl mark + other defects.