The moment when we received our new cars, we will be thrill and excited by it. Many will have agendas to soup up their cars' exterior and interior and maintenance of the car's engine and transmission will be left to the relevant authorize agents/ workshops to sort out since it's under warranty period. Some owners will send their cars for special "coating" for the paint work, many will overlook this as they are either not aware or not inform of the need to protect the car's paint work. Ignorance is not a bliss in this case.
Before the new cars are handover to the new owners, they will be polish and groom up to tip-top conditions. In most of the cases, the conditions of the paint work will be flawless like a mirror with shine and gloss (unless the process got screw up by their appointed groomers) as the LSP (wax/ sealant) is fresh and the hydrophobic effects are strong. The conditions of the paint work will deteriorate as time goes by owning to wear and tear of the wax/ sealant protection, this is normal as alot of other things behave in that manner as well.
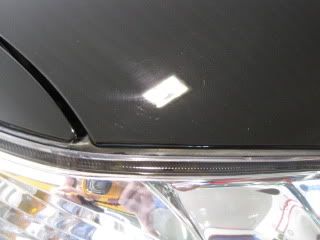
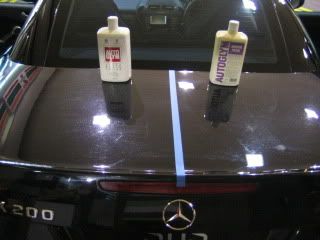
Periodic maintenance by car grooming company/ specialist is a need to rejuvenate and replenish the lost wax/ sealant, you can also DIY as well. A regularly maintain car will exhibit the following characteristics.
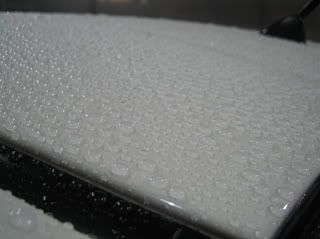
Surface hydrophobic effect cause water to beads
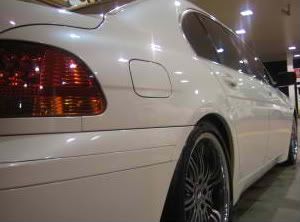
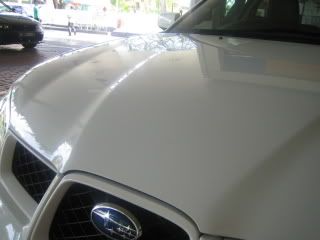
 High gloss & shine + Better clarity - HD wax... lolz
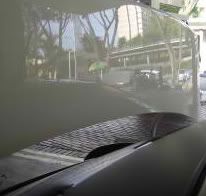
During the monsoon period, many car owners will stop doing their regular washing as it is very frustrating when it rains the moment after washing. Many will probably think that what's the point of washing when it gets dirty again the next moment? Regular washing is a very important step in maintaining the car's paintwork as it will remove most of the stains, dirt and grime accumulated from the past few days.
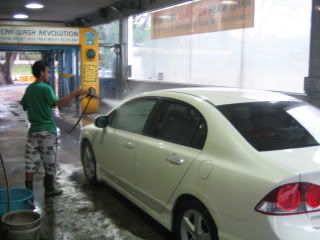
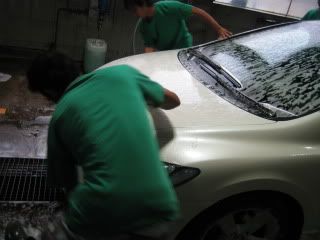
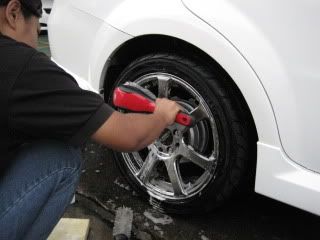
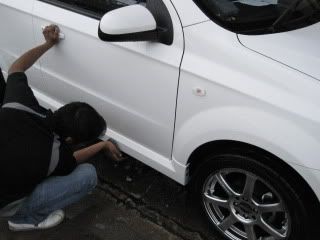
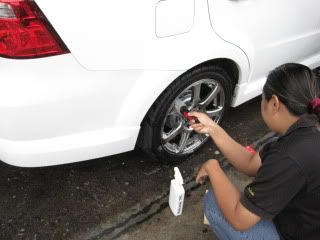
A typical commercial carwash use high pressure water to rinse the whole car throughly to remove all the dirt and fine particles that are stuck on the car especially along the crevices. This rinsing process is very important as any fine particles left on the car will scratch the paintwork when the washing commence. The car will be spray with car shampoo foam and then follow by the washing. The car shampoo will act as a mild cleaner solvent to clean the car and also as a lubricant to minimise any scratching.
Many may have neglected the part on proper rinsing when they DIY as i had witnessed some owners using scoop/ hose to splash water to "wet" the car surfaces before the washing. This is one of the main source for swirl marks found on the paint work, the other source is from carpark carwash group who provide the cleaning service by wiping the car in the night. This damage is much more severe than the DIY method as the wiping is actually done on the car's surface which is full of dirt and fine particles.
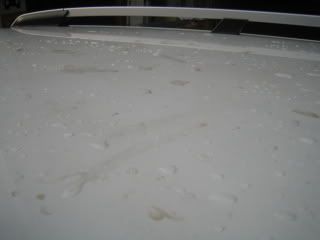
Some owners may have spent alot to do up the car's paint work with "special" coating but by not maintaining it regularly, all efforts will be to no avail. The real problem starts when you stop the routine wash as more and more dirt and grime will be accumulated (> 8 days) on the surface. The constant rain and shine conditions behaves like a catalyst to damage the protective coating (wax/ sealant). This will lead to major paint work correction issue subsequently. Do you know how water etched marks are form on the paint's surface? Without the wax/ sealant protection, these defects are form on the clear coat (lacquer) of the car's paint work. Don't turn a blind eye to these issues as the paint work can be damage.
Very poorly maintain paint work
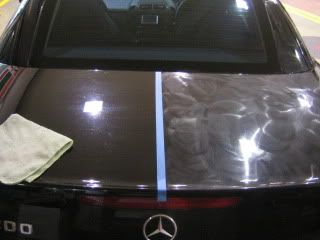
Periodic car grooming goes hand in hand with regular routine wash to upkeep the paint work in tip-top conditions. What are the defects that can be found on the cars? These are some of the common ones like swirls, scratches, buffer trails, halogram, pinning, acidic/ water etched marks and stains. Some of these are caused by our atmospheric conditions, others are man made. Are these avoidable? IMO, not likely because the car is constantly being used but some of which can be minimise.
Swirls/ Cobweb marring
 Swirls and water etched marks
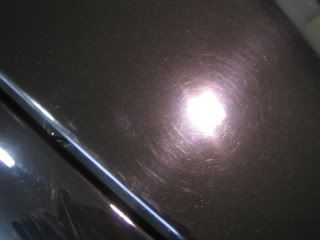 Overlapping water etched marks (fish scales?)
 Bird poo etched marks after washing off the poo
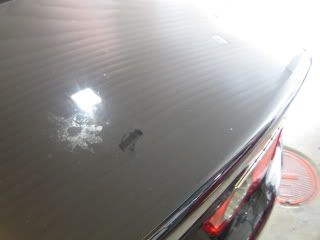 Stains by leaves/ twigs/ saps
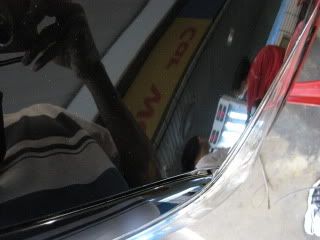
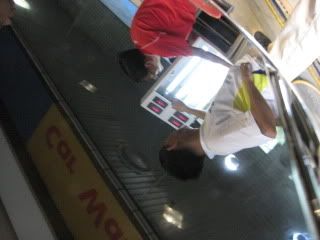
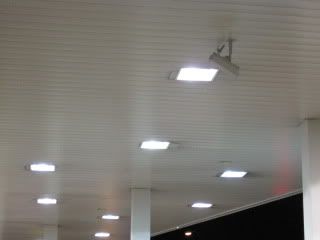
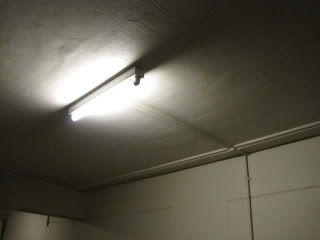
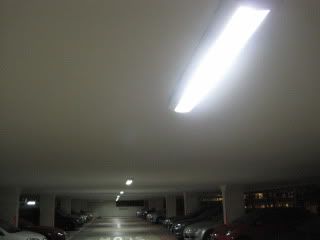
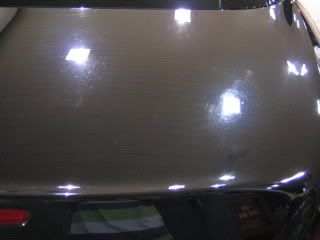
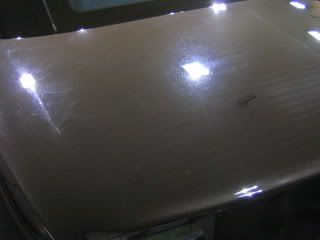
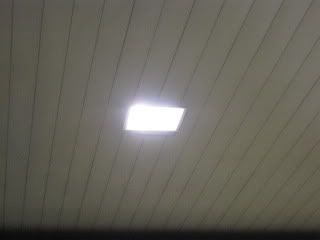
Always use proper lighting to identify the defects (swirls/ light scuff/ buffer trail/ halogram... etc) on the car's paint work. The light intensity plays an important role in car grooming industry, poor lighting will mast most of the fine defects and when you cannot see the defects clearly, how do you know what you are doing? These are actually powerful MH lighting found at Shell service station which give a daylight effect and they can get quite hot at close proximity!
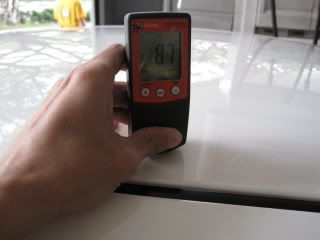
116 microns
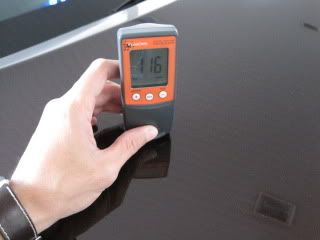
A typical 3 stage OEM paint of an average Japanese or Korean cars paint thickness may range from 85 microns to 130+ microns, some of the better continental rides may range from 130 microns to 200+ microns. 1000 microns is 1mm, do your math for paint correction.
To preserve the car's paint work in pristine conditions, regular routine washing is a must and periodic maintenance like waxing will help you to reduce the option of a need of a severe paint correction session. Hope you have enjoy reading the session here, thank you for viewing this post. Cheers.
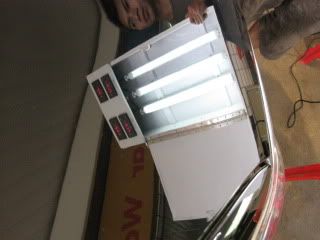
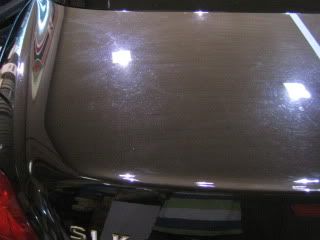
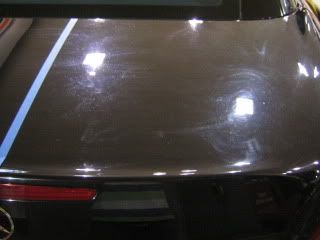
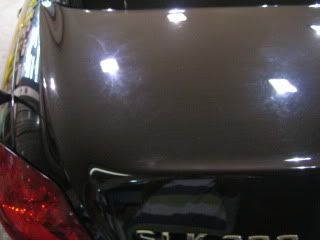
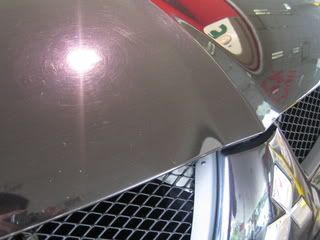
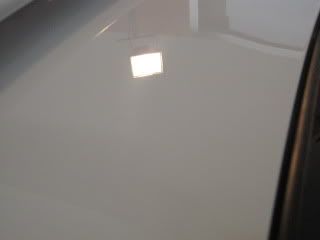
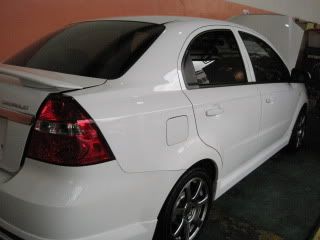
 The car was then shifted to the polishing site for a closer inspection on the paint conditions. Both MH and Halogen lighting were used as the white colour is masking most of the superficial swirl marks making it look perfect under normal light conditions.
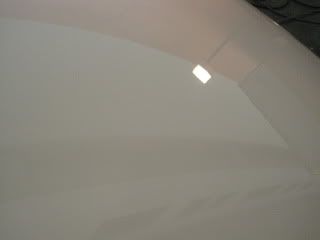
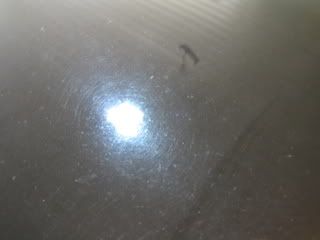
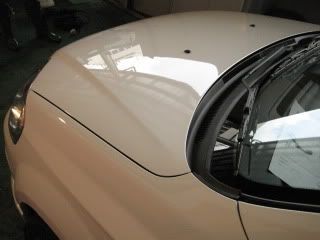
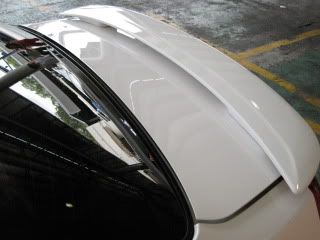
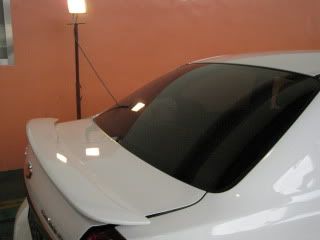 There were some random deep scratches as well but those are beyond polishing means, hence i did not take those photos. Light swirl marks and light scuffs were found on the entire car and i was surprised to see that there were also alot of pinning on the bonnet/ hood of this new car. The car was given a mild paint correction to rectify most of the swirl marks found on the car body panels less the rear spoiler area.
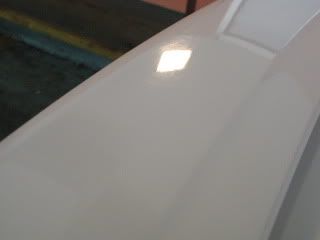
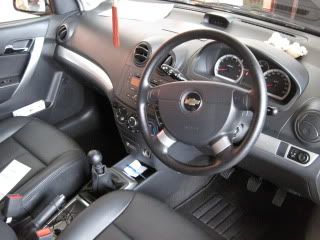
 The spoiler was given a medium paint correction as there were some fine scratches. The car was burnished for LSP and sealant was chosen. Interior of the car was cleaned, dusted and vacuumed. The leathers and vinyl were conditioned and moisturised as well. All windows panels were cleaned and the exterior vinyl were dressed as well.
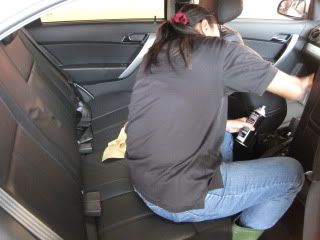
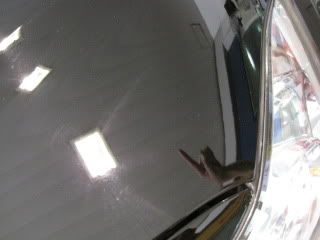
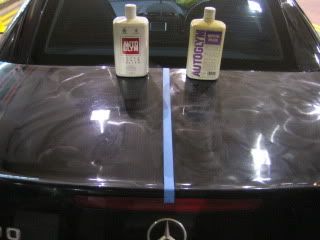
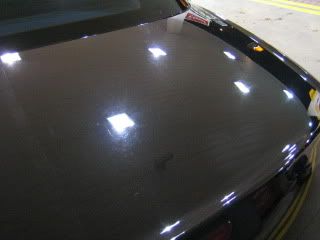
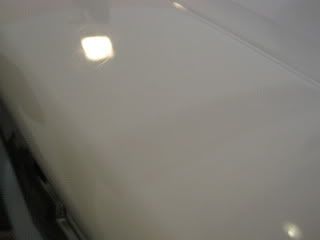
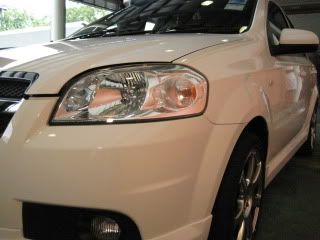
 Some of the pictures taken after buffing out the sealant. The total time taken to restore the car to pristine condition again was about 4 hours.

 This will be the last car that i have groomed in 2009, thank you for viewing this detailing session. Here's wishing all friends out there a very happy 2010, HAPPY NEW YEAR!!!